Install new SSD
Updated on 28 May 2021
Recently I replaced a SSD on my laptop. I thought I could take the old one out, plug the new one in and everything would be rosy. What I saw when I went to Windows Explorer was this:
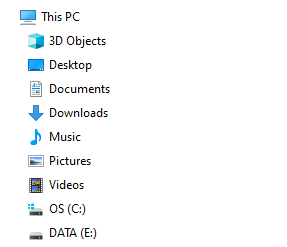
- I had the
SSDC drive for the operating system - I had the
HDDE drive for data - I was missing the new
SSDdrive that would normally be D drive.
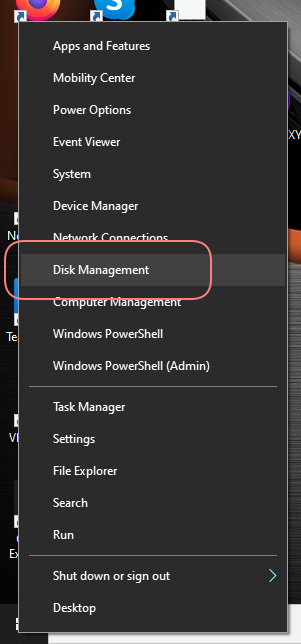
Disk Management
Write click on the Windows Start Menu and select Disk Management from the mennu.
If this is a brand new SSD, it may need to be initialised. If that is the case a pop up will display on the main screen for Disk Management.
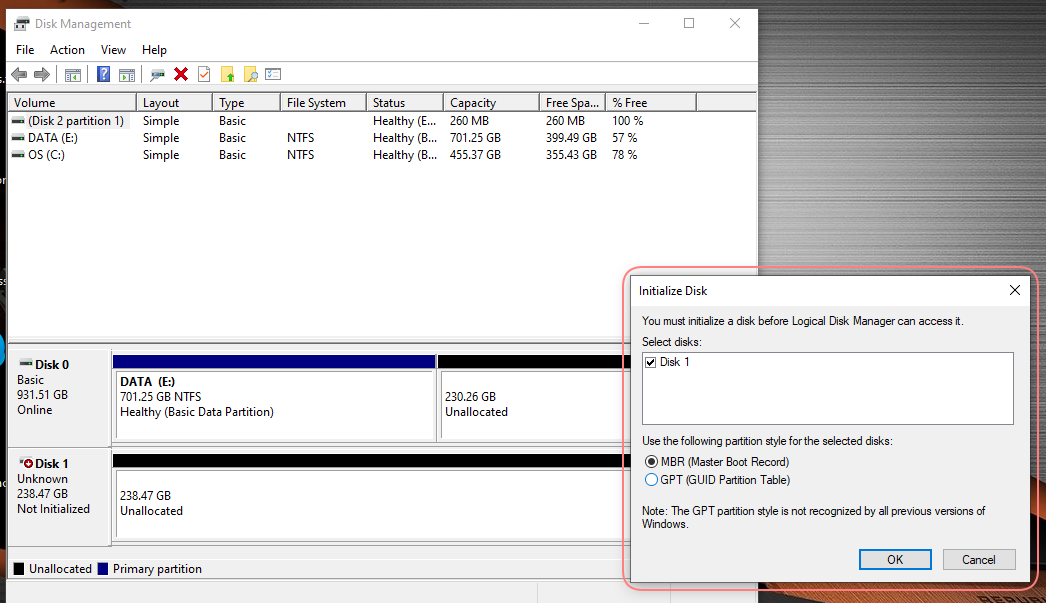
I’m selecting MBR because my SSD is less than 2TB, and click OK.
Now, right click on the new SSD in the bottom panel. It should be easy to find because it wont be listed in the top panel and the entire disk will be unallocated.
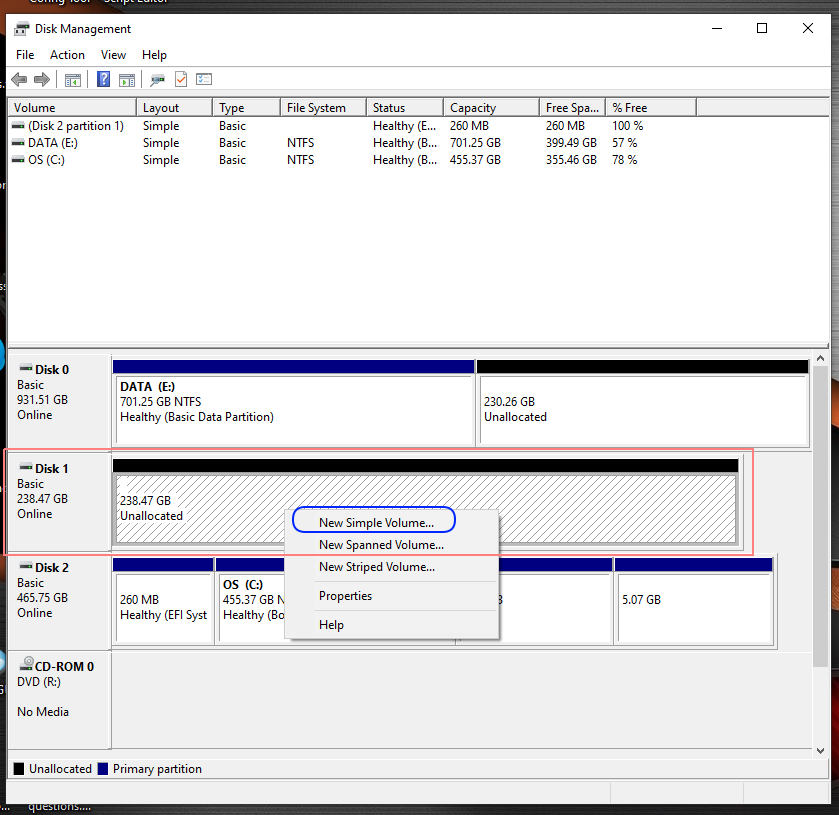
Choose New Simple Volume
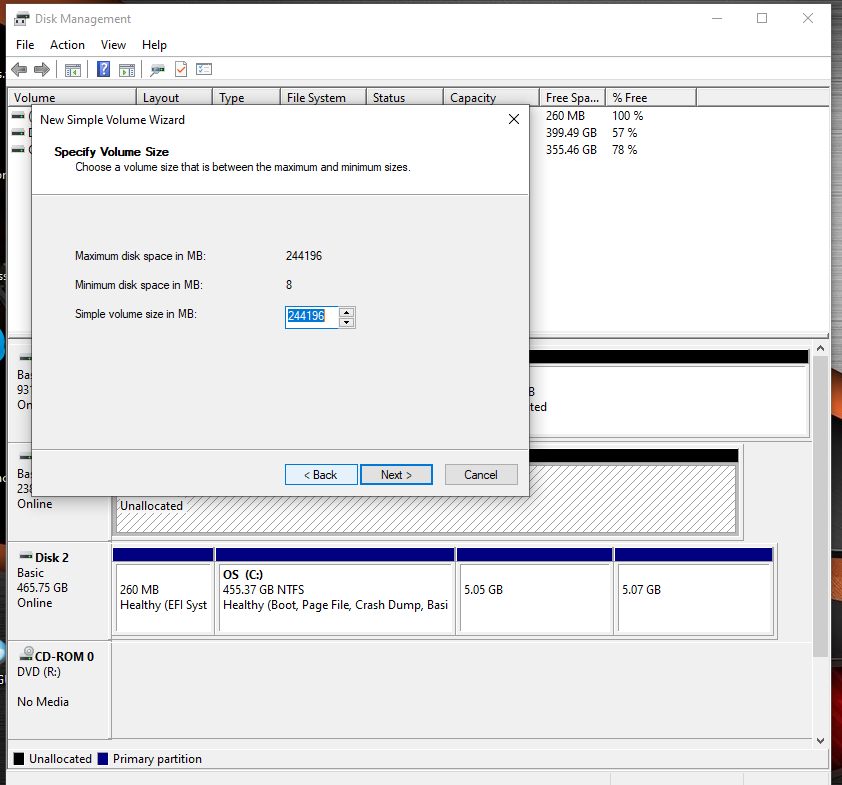
The next dialog will be to select the size of the volume. I’ll go for the full size, so I will just click Next.
Next I’ll be asked about the drive letter. I’ll keep it at the default D drive and click Next.

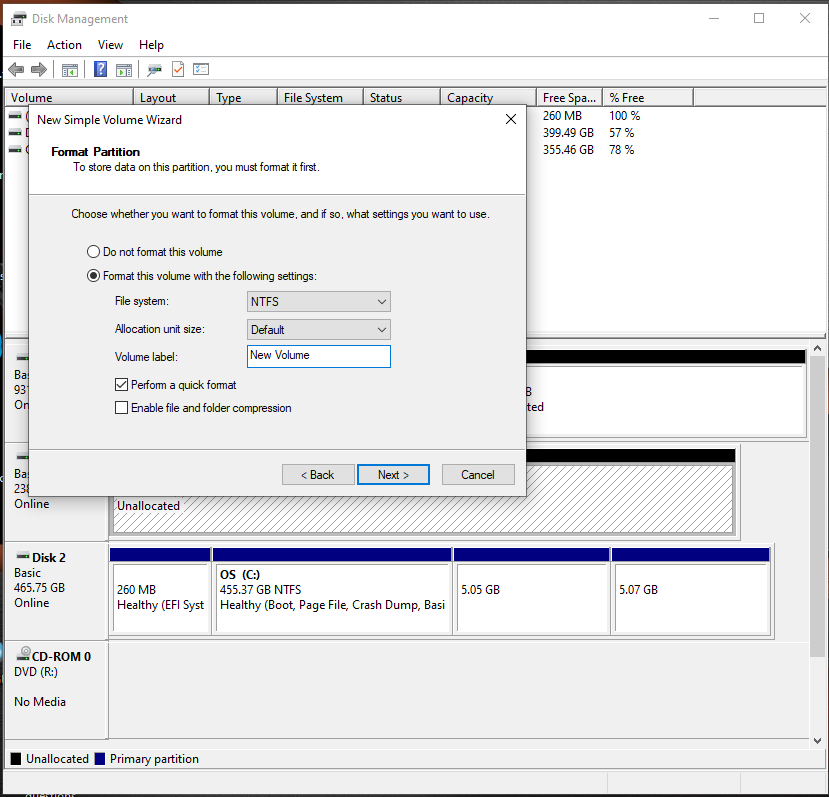
Now I am asked about the label for the volume. I’m just testing things out, so I’ll leave the label as it is and click Next.
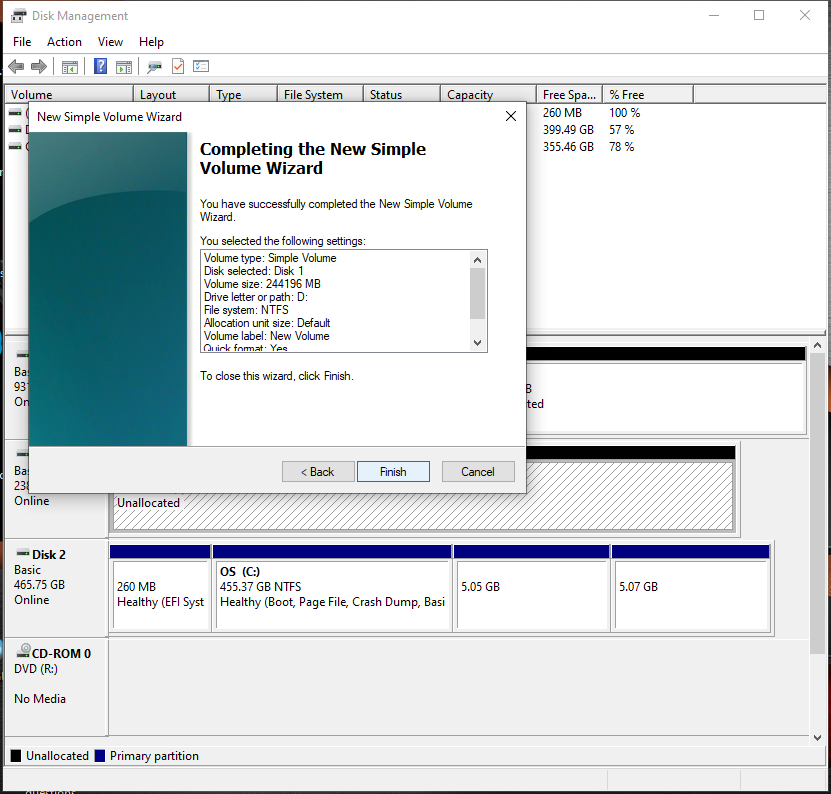
Now I have a confirmation of what is about to happen. I’m happy so I click Finish.
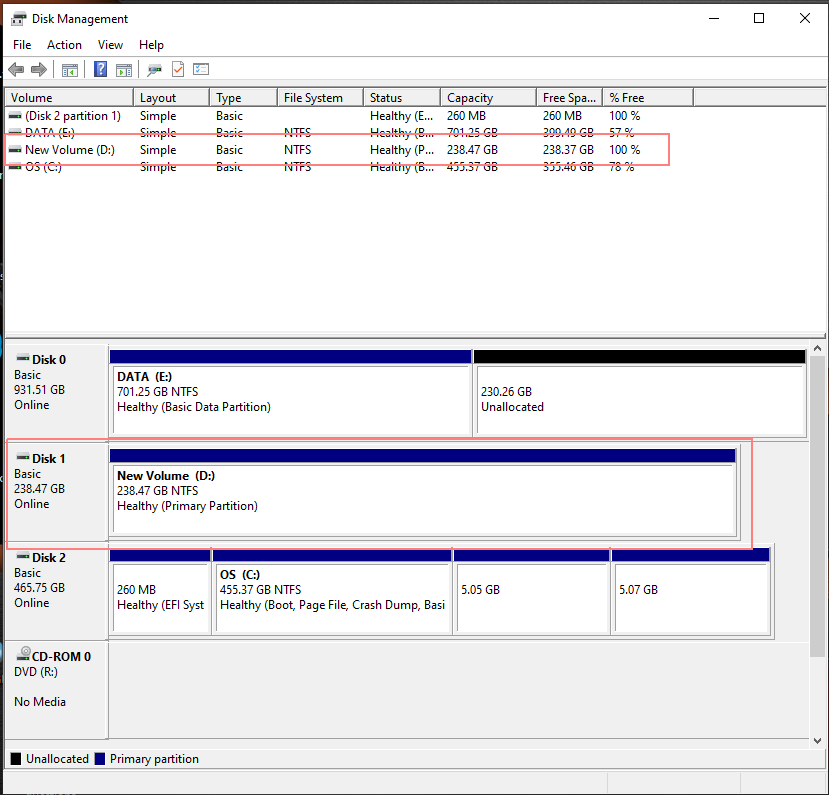
Once it has finished I can see that Disk Management is displaying my new drive
And I can see it in Windows Explorer.
