Installation of Jenkins
Updated on 18 Feb 2020
Add the jenkins repository
First step is to add the Jenkins repository to our system.
wget -q -O - https://pkg.jenkins.io/debian-stable/jenkins.io.key | sudo apt-key add -

Then add the following entry in your /etc/apt/sources.list file
deb https://pkg.jenkins.io/debian-stable binary/
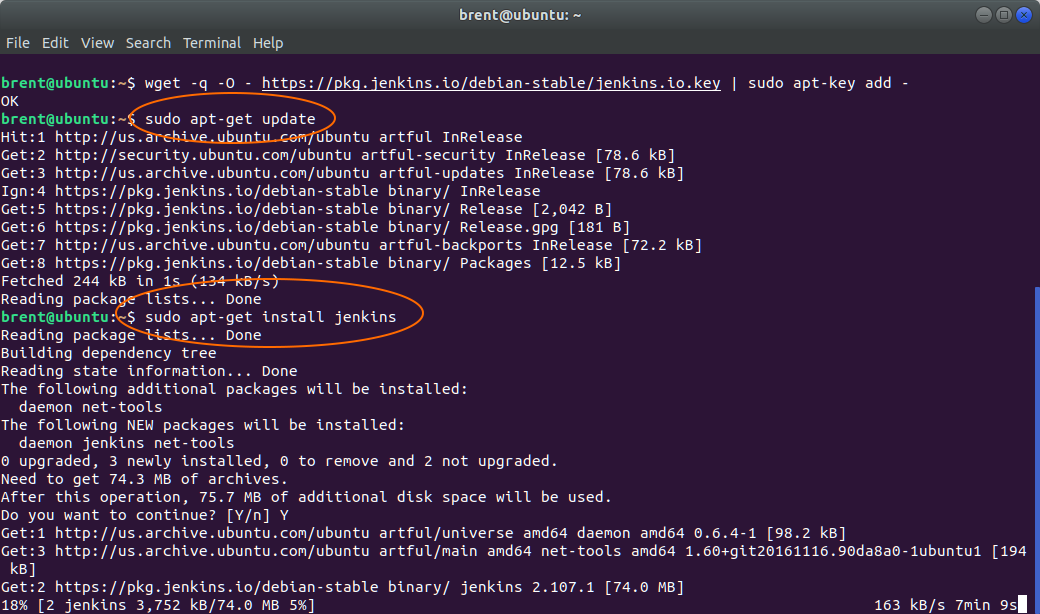
Next we can update the local package index, then finally install Jenkins:
sudo apt-get update
sudo apt-get install jenkins
Home Directory and Files
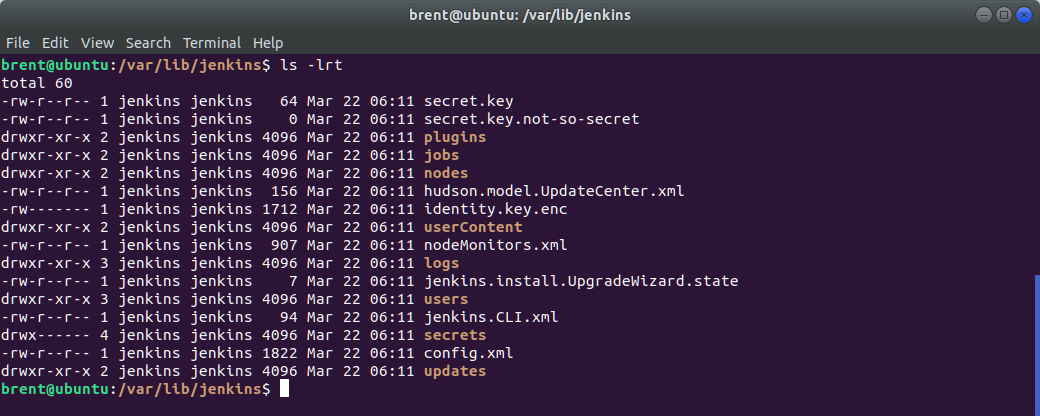
Jenkins gets installed to /var/lib/jenkins.
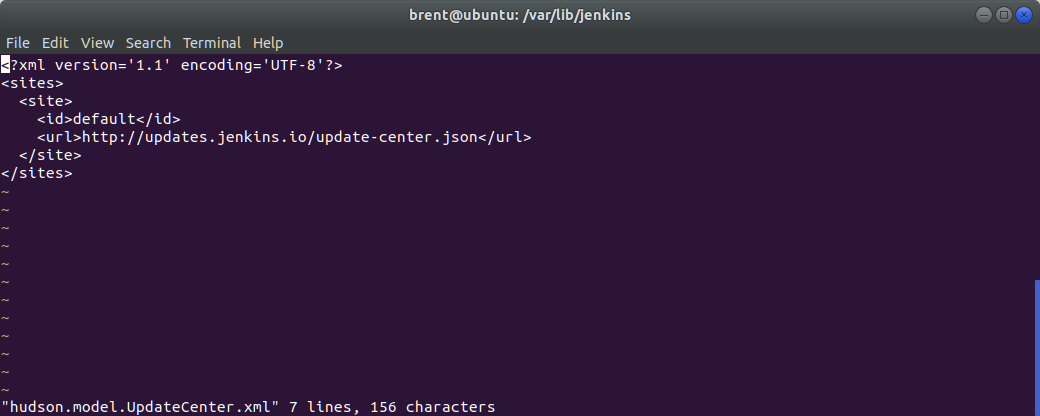
One of the files in here is worth mentioning hudson.model.UpdateCenter.xml. You may want to change the url from https to http if there is likely to be issues with Java accessing your trusted store for SSL certificates.
Another file worth mentioning is the configuration file. This is where you can
- set the name / group that jenkins runs under
- change the default port (from 8080)
- do other things.
/etc/default/jenkins
Note: Just remember, if you make any changes to the files then Jenkins needs to be restarted.
sudo systemctl restart jenkins
In the /var/lib/jenkins directory are some folders:
- jobs. This is where your projects or jobs are stored. This is useful if you want to copy the configuration / build steps from one installation to another or you just wanted to make a backup.
- workspace. This is where Jenkins (with git interactions) will download files to before your shell scripts will push them out to where they need to go.
Running Jenkins
Running Jenkins is done via port 8080 on the browser.
localhost:8080/jenkins
On your first run of Jenkins, you will be presented with a security page.
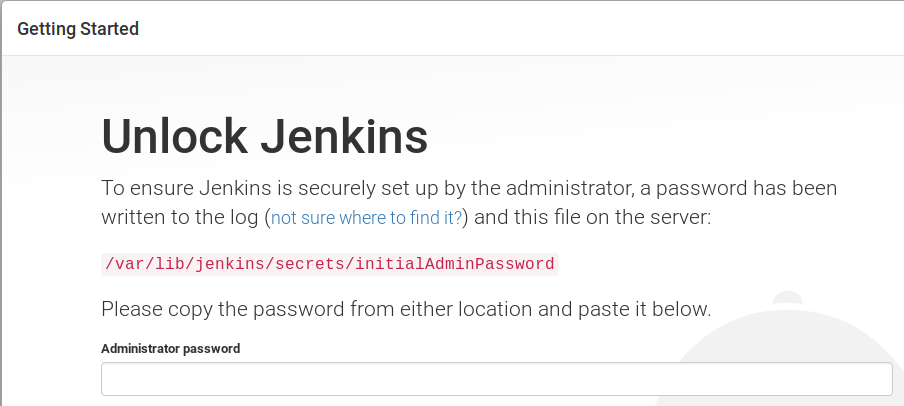
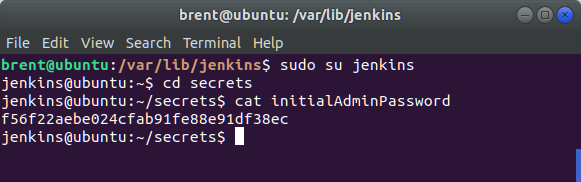
Follow the instructions to retrieve the initial password, keeping in mind that access to it can only be done via the jenkins user. If you somehow forget your password, I have other instructions on how to reset it.
Default Plugins
Once the initial password has been entered and accepted, Jenkins will present you with a new screen. This is only possible if Jenkins can connect to the update center, and if it can’t, you might need to re-configure hudson.model.UpdateCenter.xml to use http instead of https.
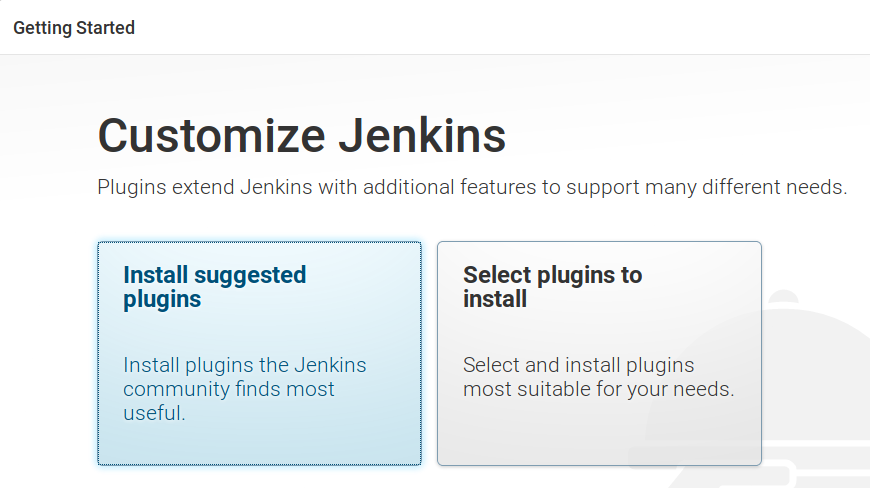
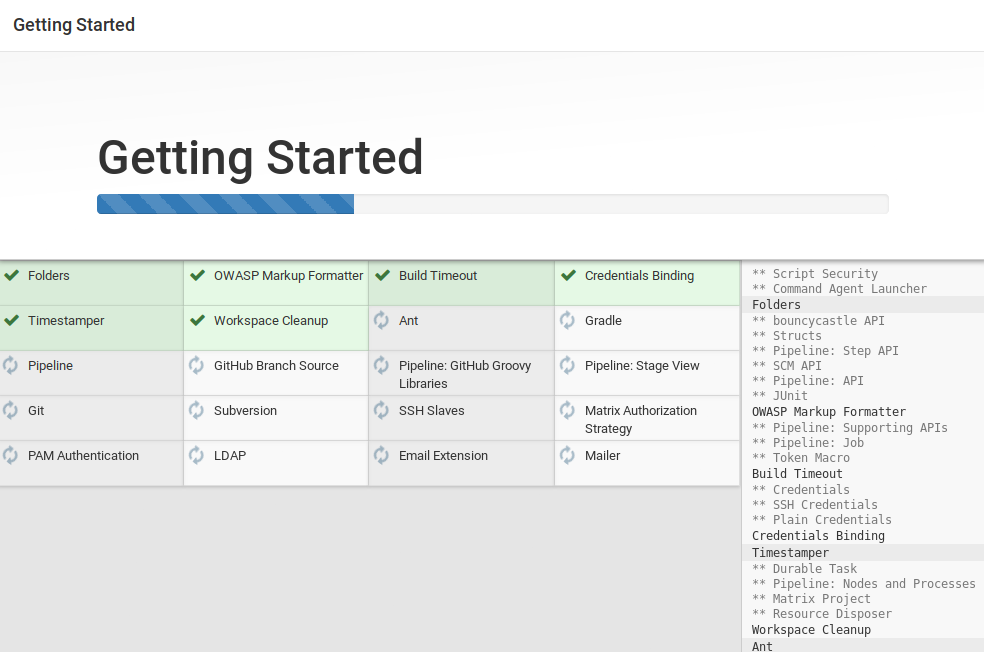
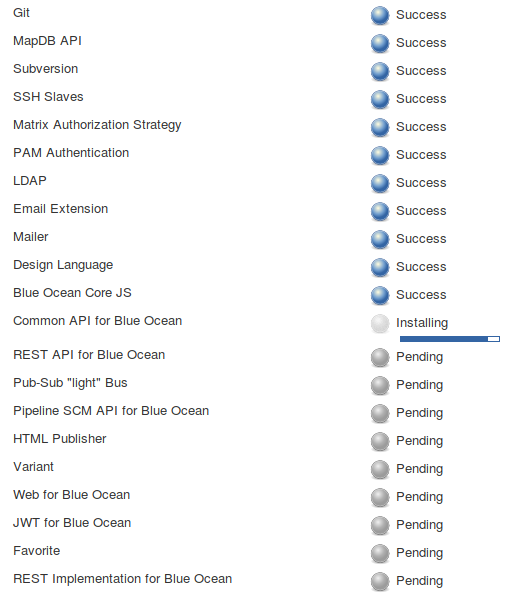
Click Install suggested plugins. Jenkins will then give you updates on how it is progressing.
First Admin User
Once the default plugins have been installed, you’ll be prompted to create a new admin user.
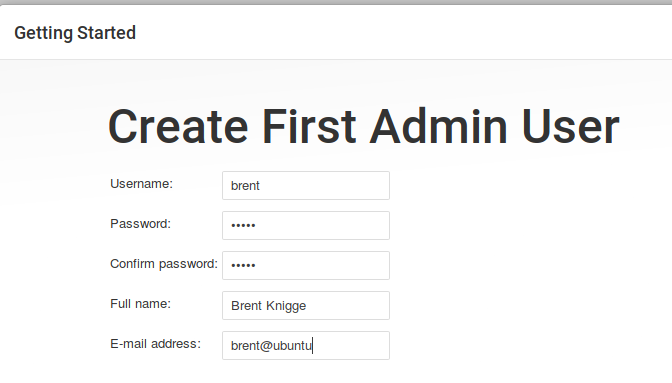
Enter your details and proceed to the next step. Hint: We’re basically there!
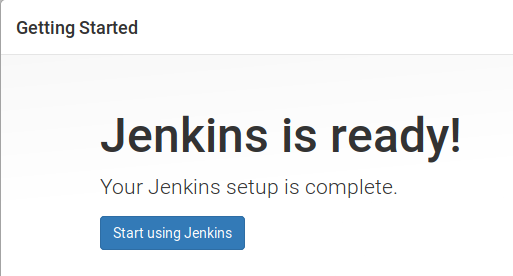
Click Start using Jenkins to be taken to the main configuration page of Jenkins.
Additional Plugins
There are some additional plugins that we want to install.
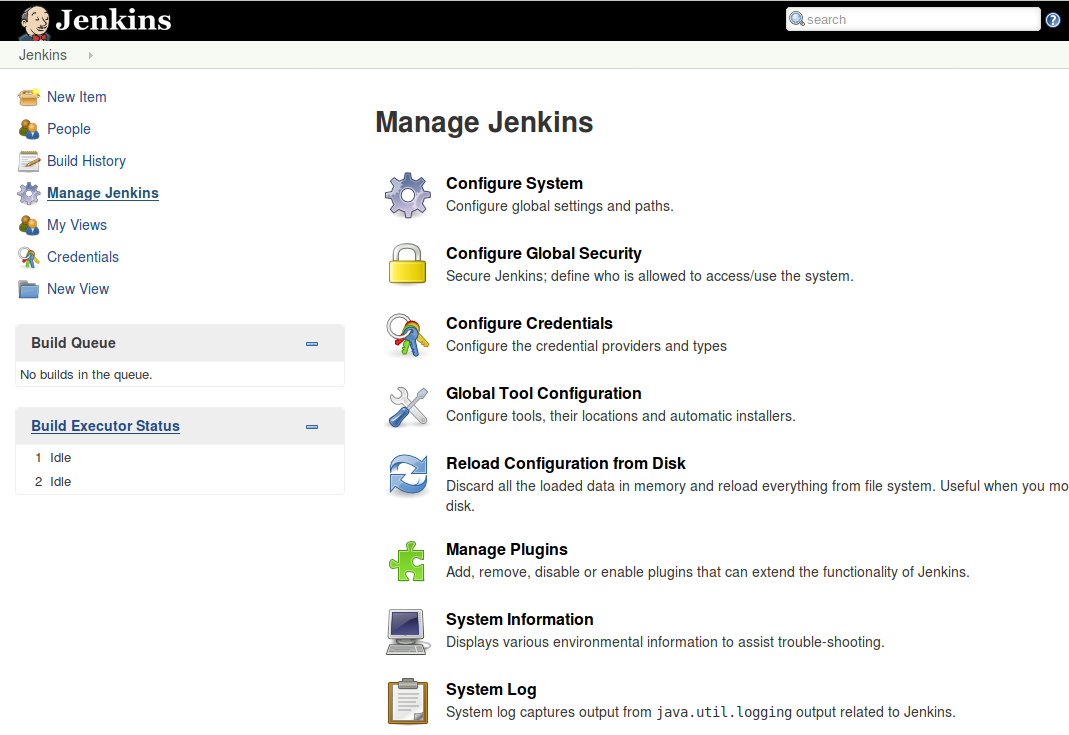
Select Manage Jenkins on the left hand navigation, and then Manage Plugins. Choose the Available tab and use the filter to search for Blue Ocean. Select that and install.
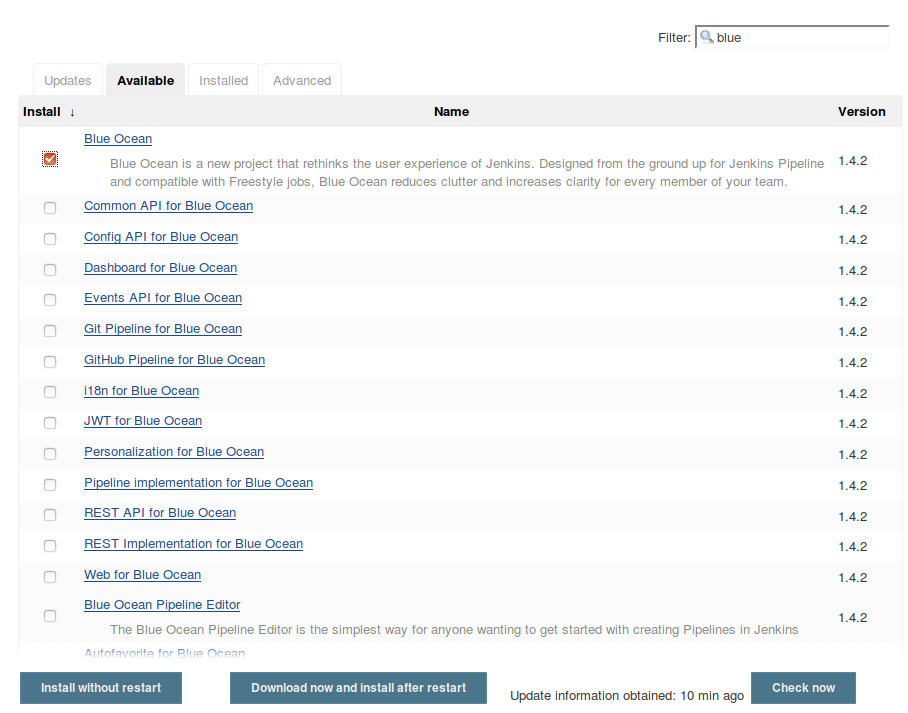
Jenkins will install the necessary plugin, plus any other co-dependents.
Repeat this step for xUnit and Conditional Build Step.
User groups
Inorder to change the group that a file belongs to, the user making the change must also belong to that group. In our situation, the user jenkins is going to be moving files around and setting permissions. Inorder for the jenkins user to change the group to www-data, jenkins must also belong to that group.
sudo usermod -a -G www-data jenkins